Tags
Tags provide an additional method for manually grouping specific products, particularly when dynamic selection through alternative fields is not possible. This approach liberates you from the constraints of your feed's predefined attributes, allowing you to establish and label tags with names that align more closely with your needs.
To see the available tags, if there are any yet, you should select the desired merchant from the Dashboard menu and then on Tags on the left side menu.
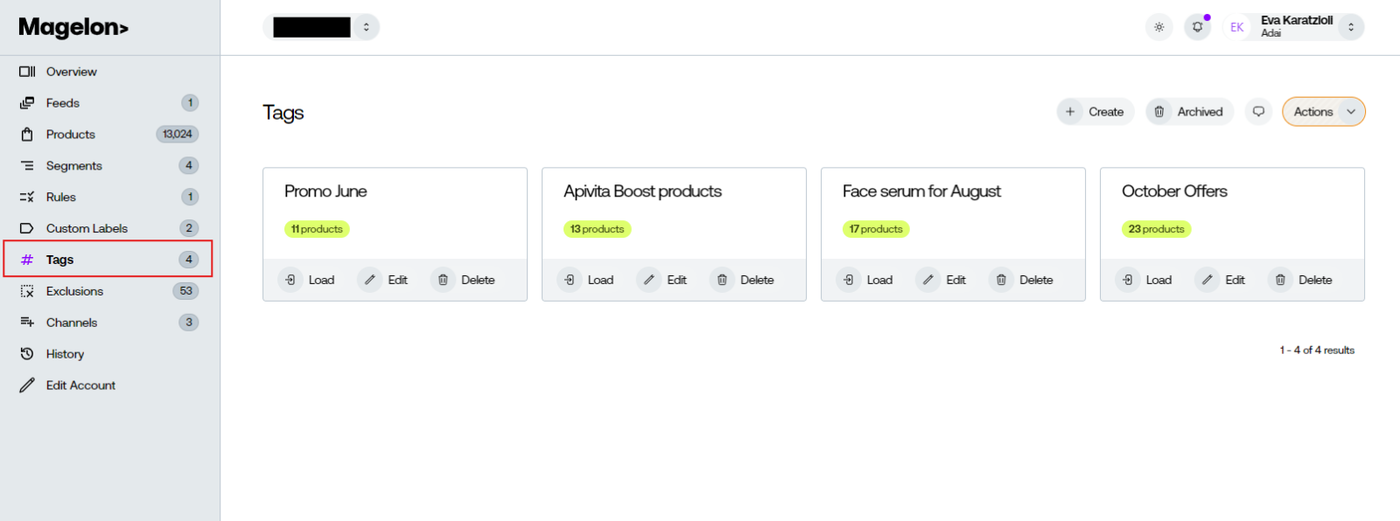
Create Tags for your products
The basic difference between segments and tags is that in the first case you create a dynamic part of your feed while in the second case you can create a static part of your feed.
For example, let’s assume that you want to create a static selection of your products having ten or more, specific products that you want to promote for the next month.
Just because these products are namely and specific you should use tags instead of segments.
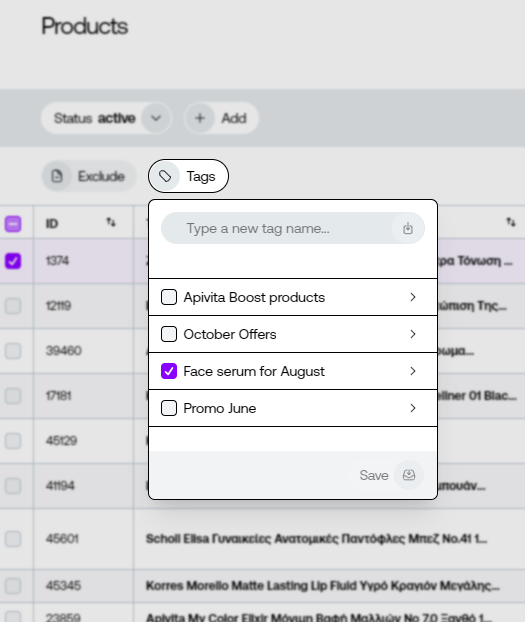
To create a new tag you should first select the product or products that you want to assign the tag. So select the ones you want from the products list and then click on the Tags button.
You can see all the available tags. If not, type the name of the tag you want to create and press enter. Then select it and click save.
You may also add a column to clearly identify the tags assigned to each product. This will help in easily recognizing the available tags for every item.

Note: Ιf you make modifications to tags, these changes will be reflected on Merchant Center and other channels when the feeds are synced. This happens at least once a day, or more often. However, if you wish to apply these changes immediately, you can manually request an update. For instructions on how to manually update a channel, please refer to this article.