Filters
Above the products list, there's a convenient filter bar. Filters allow you to narrow down the product list according to your specific needs. You can use them to group products by attributes like brand, price, color, size, season, or any other distinctive feature, allowing for streamlined filtering and easy identification within your product inventory.
To create a new filter, follow these steps:
Click on the Add button located above the list of products.
Choose the type of filter you want to apply. Once selected, the filter criteria will appear.
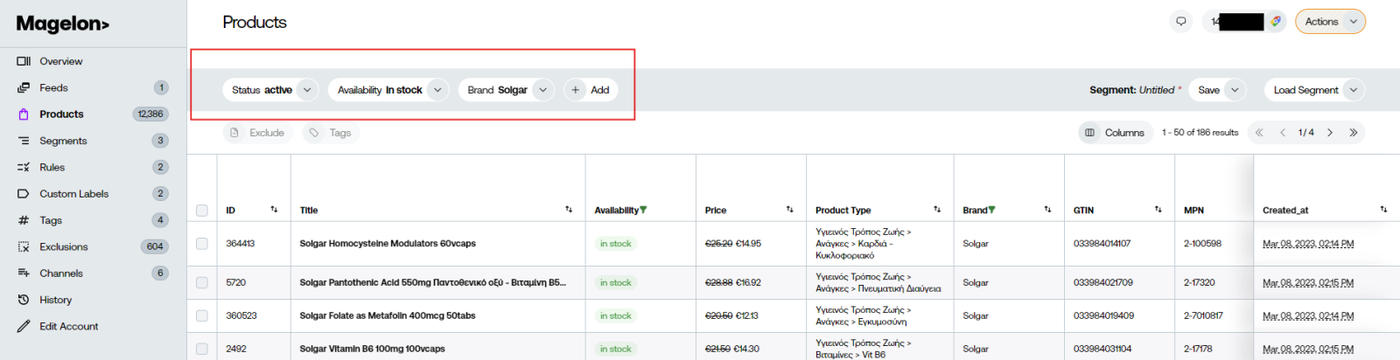
By clicking on the filter, various options will be presented based on the chosen filter type. For instance, the example image shows the availability filter in action.
|
|
|


You can select filter criteria from dropdown menus (such as "contains", "does not contain") and select the availability type you want. . Once you've specified the filter parameters, click the Apply button to activate the filter.
Another example of the filters can be the Brand where you can select the brand name or type it in the field.
|
|
|


On the filter's right corner, you'll find a bin icon that allows you to delete the filter if needed.
You have the option to add multiple filters at the same time based on your needs. This efficient filtering system empowers you to isolate specific groups of products based on your criteria, streamlining the management of your products within Magelon.
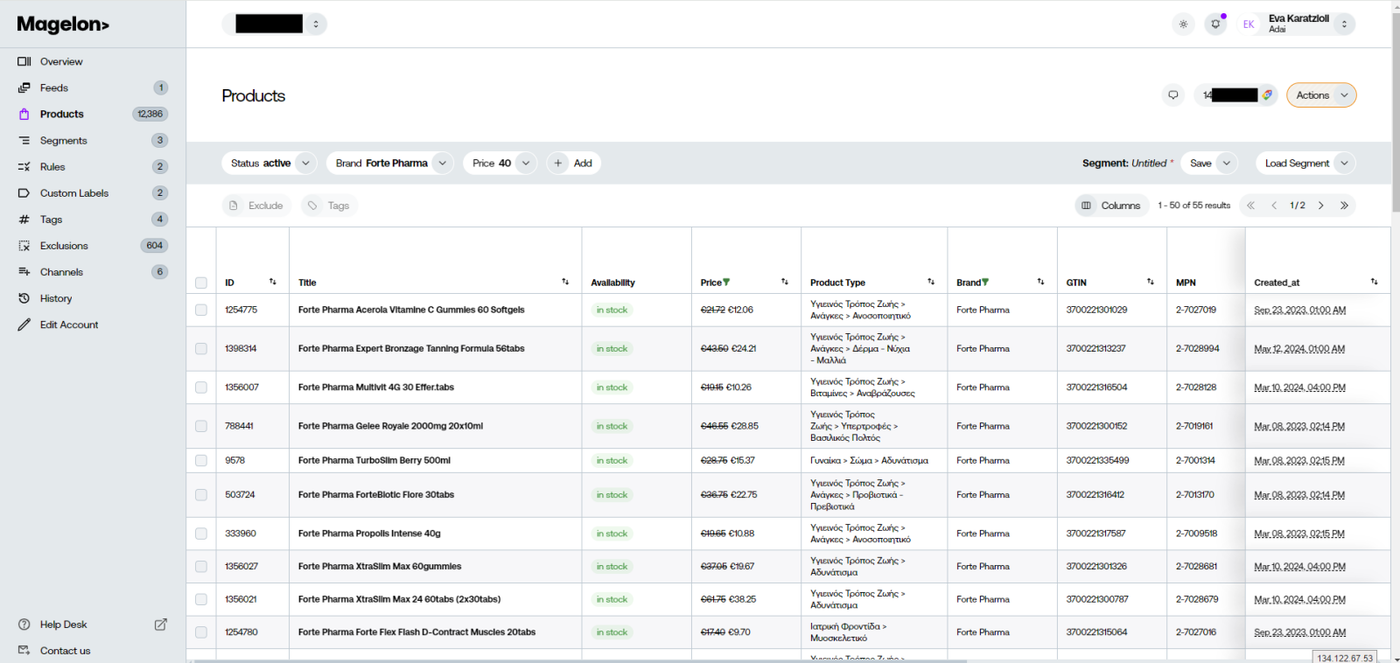
In the provided example above, we've effectively employed two filters to refine the product list:
Brand Filter: We selected the brand filter and set it to "Forte Pharma". This filter isolates products from the brand "Forte Pharma," showing only those products associated with this brand.
Price Filter: Another filter we used is the price filter. We configured it to display products with a price less than 40 euros. This narrows down the product list to include only those products priced at 40 euros or less.
By applying these two filters in combination, we can see a specific subset of products that meet both the "Forte Pharma" brand requirement and the price condition of being less than 40 euros. If you wish you can save this filter to use it later.
Note: After connecting your GA4 and your merchant center account to Magelon, you will get to have data from these platforms and you can get valuable information like what kind of products were sold for bigger quantities than 3 products in the last 30 days, for example.


On the right top corner of your screen you have two different options:

Save: You can click to it and save your current filter. Right before it you can see the ¨”Segment:Untitled” that indicates that this segment is not saved yet. On the other side if this (Red means that your filter is not saved. Green means that you already saved the filter.)
Load Segment: where you can load an already saved filter.
Once you select to save your filter, a pop up will appear to name it.
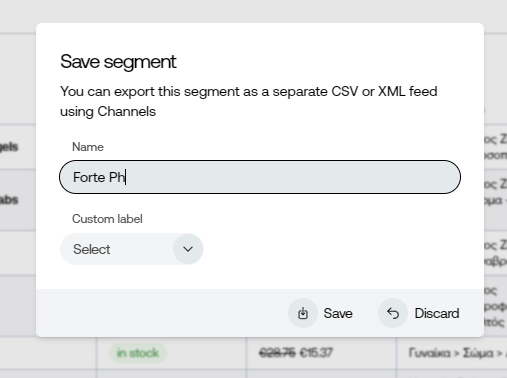
Except from the name field on the pop up window you can see another field named custom label. You have the option to assign the segment you want in a specific custom label, to target these products for your google ads marketing campaigns. You can see detailed information on the Custom Labels paragraph.
These saved filters are called Segments, because they are a part of your product feed.
Note: Ιf you make modifications to filter & segments, these changes will be reflected on Merchant Center and other channels when the feeds are synced. This happens at least once a day, or more often. However, if you wish to apply these changes immediately, you can manually request an update. For instructions on how to manually update a channel, please refer to this article.